How a PVC Ceiling Is Fitted, Step by Step
Fitting a PVC ceiling looks simple until the lines start to wander. This step-by-step guide covers the general method, from a level frame to the last panel, and the details that decide whether the finish looks neat.
Introduction
Can you fit a PVC ceiling yourself?
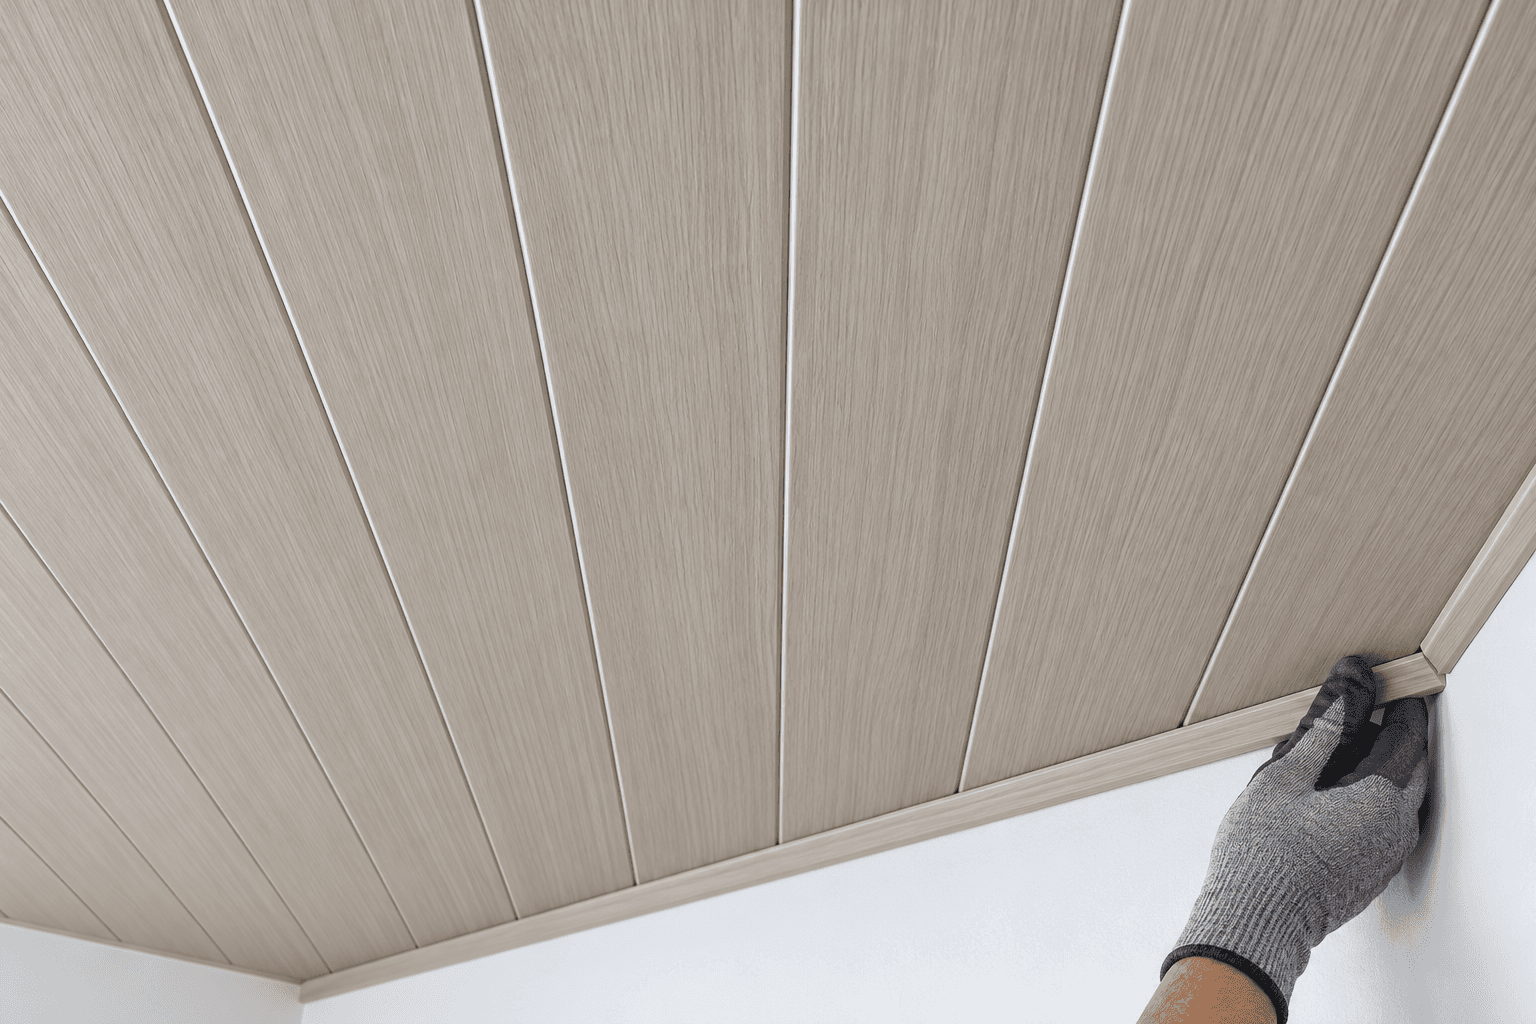
Plenty of people look up how a PVC ceiling is fitted before deciding whether to do it themselves. On paper the method is simple: a frame, trims around the edges, and strips that lock together.
The hard part is precision. Every panel follows the frame, so a small dip or a crooked first strip shows along the whole ceiling. Here is the general method, step by step, and the points where a DIY job usually goes wrong.
What You Need Before You Start
Panels and trims
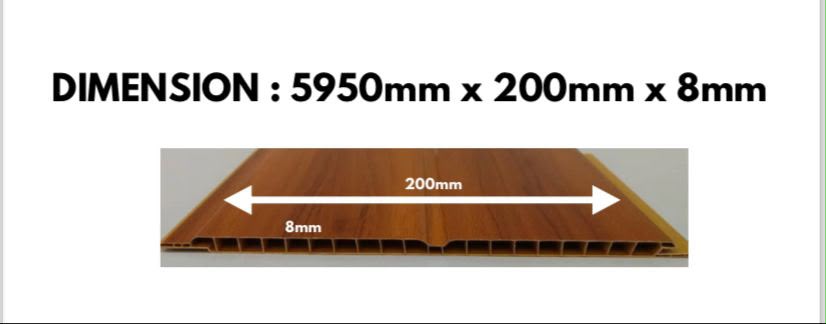
PVC ceiling panels are long, rigid strips. Ours are 5950 × 200 × 8 mm with a hollow core, which keeps them light enough to handle. Each long edge locks into the next panel and hides the fixings.
Trims close off the edges. L trims finish the line where ceiling meets wall and the corners, U trims cap cut ends, and H trims join two lengths end to end. For a closer look at sizes and trim types, see PVC ceiling panels explained.
Frame and tools
The panels need a frame to fix to, usually timber battens or light metal furring channels running at right angles to the panels. Basic tools are a tape measure, a spirit level or laser level, a fine-tooth saw or cutter, a drill and suitable fixings.
Safe access matters as much as the tools. Use a stable ladder or platform, not a chair or a stack of boxes.
Step by Step: How a PVC Ceiling Is Fitted
Step 1: Measure and plan the layout
Measure each ceiling and decide which way the panels will run. Strips usually run along the longer side of the room, or towards the entrance or main view, because that direction looks longest and neatest.
Plan where joints and light points will fall before anything is fixed. A run longer than 5.95 m needs an H joint, and it looks better placed on purpose than wherever a panel happens to run out.
Step 2: Check or build a level frame
Check the existing frame with a level across the whole ceiling. Battens that dip, twist, or show rot or termite damage should be fixed or replaced.
Space the battens closely enough that the panels cannot sag between them. PVC follows whatever it is fixed to, so the ceiling will only ever be as level as its frame.
Step 3: Fix the edge trims
Fix the edge trims around the walls along the ceiling line, using the level to keep them straight. These trims hold the panel ends and hide the cut edges, so any wobble here shows straight away.
Step 4: Cut the panels to length
Measure each panel's length on its own, because walls are rarely perfectly square. Cut slightly short of the full wall-to-wall length so the ends sit inside the trims with a small allowance.
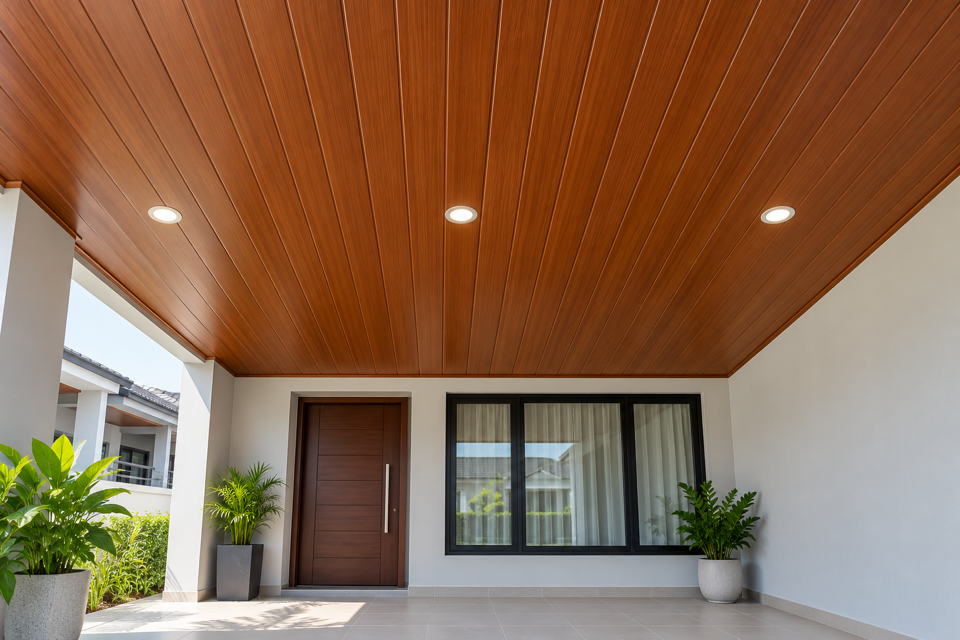
PVC moves a little with heat, so the allowance matters most on a porch that gets the afternoon sun.
Step 5: Fit the first panel straight
Slide the first panel into the edge trim and fix it to the frame through its fixing flange, which the next panel will cover. Check it against a straight line along its whole length. If the first panel is off, every panel after it will be too.
Step 6: Lock in the following panels
Each new panel locks into the one before it and is then fixed through its own flange. Work across the ceiling and check that each joint is fully closed. Where a run is longer than one panel, join the two lengths with an H trim.
Step 7: Cut openings for lights and fans
Mark downlight, fan and access points carefully and cut clean openings. Any electrical work, including new light points, should be done by a qualified electrician.
Step 8: Fit the last panel and finish the edges
The last panel usually needs trimming along its width to fit. Slide it into place and close the edge with trim. Then check the lines from below, wipe the panels down and refit the lights.
Common Mistakes in DIY PVC Ceiling Fitting
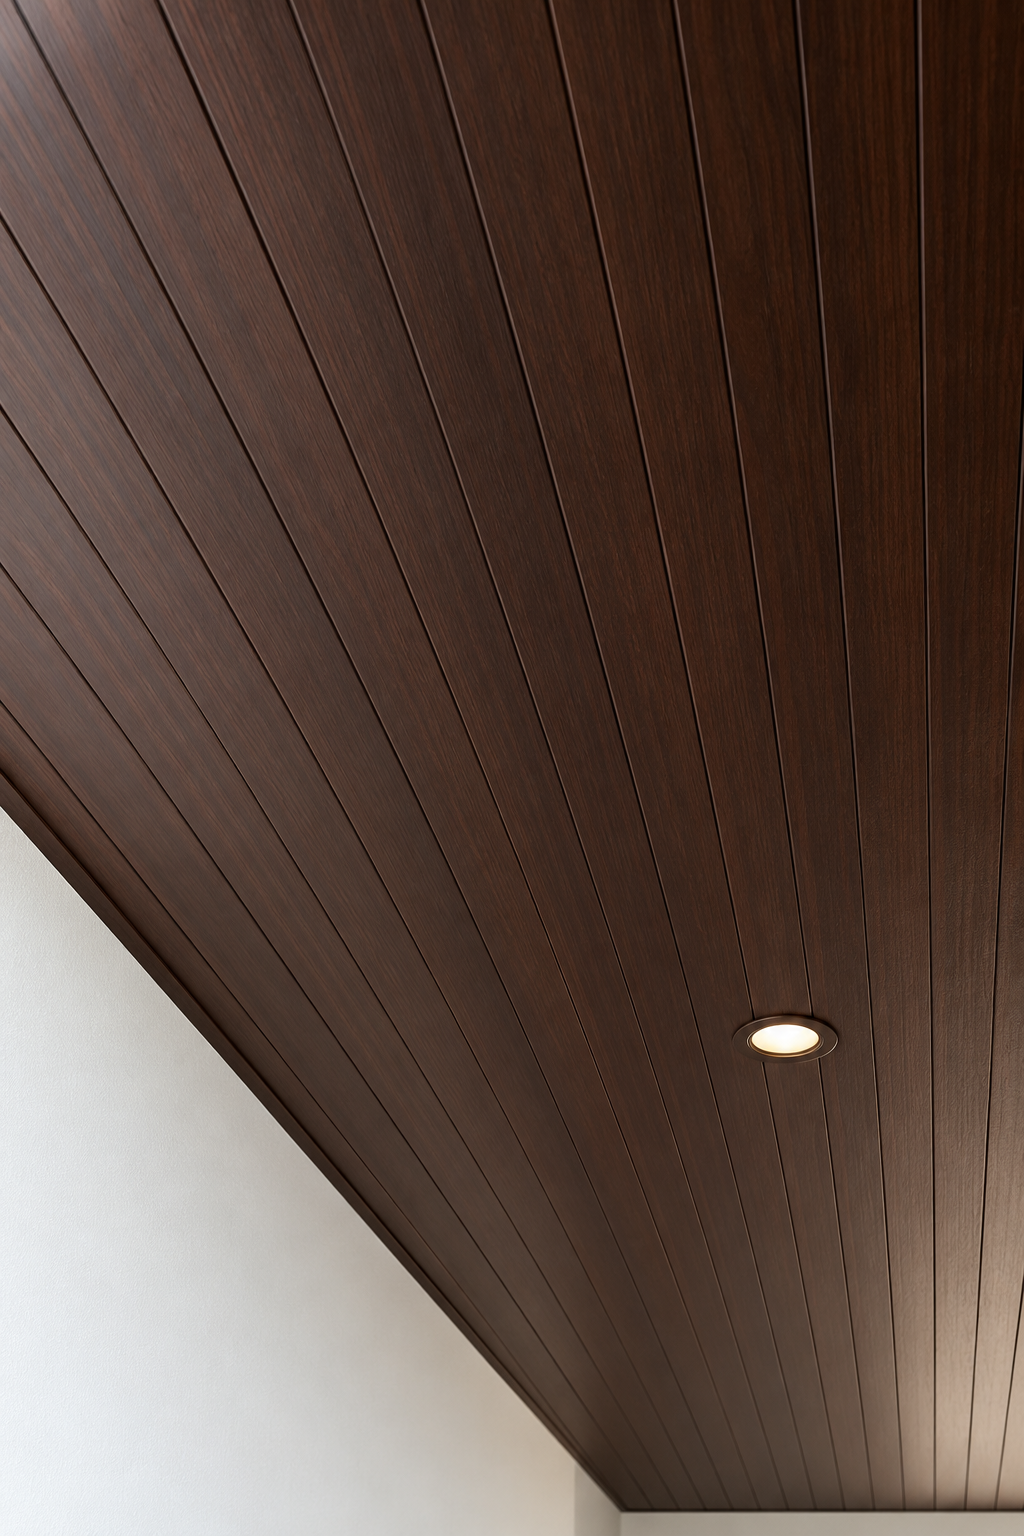
- Skipping the frame check. A ceiling fixed to an uneven frame shows every dip, especially under porch lights and downlights.
- Fitting panels tight to the wall. Without a small allowance at the ends, panels can bow as they warm up.
- Leaving trims out of the budget. Edges and joints without proper trims look unfinished and gather dust.
- Rushing the first panel. Any angle in the first strip carries across the whole ceiling.
- Fitting over a leak. If the old ceiling is stained, find the water source first. Our guide to leaking and sagging ceilings explains why.
When to Leave It to an Installer
A small, square, low ceiling on a good frame is a reasonable DIY project. A large porch, a high ceiling, an old frame that needs work, or a room full of light points is where most people decide to hand it over.
Our process has three steps. You WhatsApp your details, we suggest a finish and send an itemised quotation, and the panels and matching trims are fitted once you approve it. The PVC ceiling price section shows how the quotation is laid out.
FAQ
Which direction should PVC ceiling panels run?
Usually along the longer side of the room, or towards the main entrance or view. The frame runs at right angles to the panels.
Can a PVC ceiling be fitted on an existing frame?
Yes, if the frame is level, sound and spaced closely enough. A frame with rot, termite damage or dips has to be fixed first.
Do I need trims for a PVC ceiling?
Yes. Trims hide the cut ends, finish the edges and corners, and join long runs. Without them, the ceiling looks unfinished.
How do I join two PVC ceiling panels end to end?
With an H trim. Both panel ends slide into it, which gives a straight, deliberate joint line instead of a butt joint.
Get Your PVC Ceiling Fitted
WhatsApp us your location, a rough ceiling size and a few photos of the space. We supply and install across Malaysia, including Shah Alam, Johor Bahru and PVC ceiling in Ipoh.
Conclusion
Fitting a PVC ceiling comes down to a level frame, straight edge trims, careful cutting and a true first panel.
If your space is large, high or sits on an old frame, an installer will save you from correcting crooked lines afterwards.